Wednesday, October 30, 2013

Warhammer 40K: Dark Vengeance Part 3

For the last week, I was busy over the evenings working on the 5th Company tactical squads while looking around for ideas to base my units. I managed to complete the first 5 half of the squad as you can see below.

I am currently undecided if the vents of the backpack should be left green as I have done currently or paint it silver.


As seen above, the more complex set of the tactical squads are also half painted over the last few nights with the uniques and HQs almost there. There was a mess over the cloth parts where too I overwashed them, leaving traces off pooling on the material. Hopefully, the fixes I did have improved on it. I hope to see them completed by the end of this week before I head over to the Ravenwings.

Next Step:
- Finishing the Tactical Squad
- Update the paint list.

Thursday, October 24, 2013

Warhammer 40K: Dark Vengeance Part 2

I finally completed the terminators last night after two nights working on it.

These two were the first to be "mostly completed" as there were few paints needed that is missing in my list.
 
The bases are left unpainted as I have decided to base them with probably either a rocky or sandy terrain. I have yet to fully decide. I will also need to check out on the techniques and materials best used to base them. There's plenty of video tutorial available which I have been watching. Which by the way, I made a mistake of gluing these two units to the base. I'll think of something to work around it.

The next three units in the Deathwing Squad was painted right after finishing the above 2.


I sorta got the right style of the sergeant's power sword after viewing the tutorial from miniwargaming.com. Their method was using airbrush. I did mine using drybrushing/stippling using the blues from bright to dark. The white line in the middle needs more improvement.

 
Only after taking the first photo above when I realized that the tones on my termies were not the same between the earlier two and the rest. Seems that I did not drybrush enough on the remaining three.
Note to self: Patience and a lot of mid painting check is required if you are not painting everything at once.

Next Step:
- Dark Angels Tactical Squad

Monday, October 21, 2013

Warhammer 40K: Dark Vengeance Part 1

I finally decided on starting with the Dark Angel chapter for my first 1.5k army. To start it off, I got myself the Dark Vengeance starter set to kick things off. Some of the terminators in this box will be used for my Space Hulk Blood Angels card game.

I began working on the tactical squad, just to find that I did not have all the necessary paint needed for them (only Caliban Green is in my kit). With that, I proceeded with the Deathwing Terminators (since the 5th Company which the units here are from, does not have any termies in the roster. I base this from wh40k.lexicanum.com)


Next Step:
- More paints
- Continue painting termies

Friday, October 11, 2013

Warhammer 40K: Space Hulk Terminators Part 9

Finally, my order of heads have arrived.
2 heads each for my future models.
I did not find it practical for any units to go into combat without any helmets for both protection and combat. Anyhow, I will be using this primarily for my Space Hulk unit should the models on the card be going about without one (two of the mission expansion units, Brother Metraen and Brother Kaphael uses the open mouth model)

Hence now Sergeant Gideon is complete, although I originally intended the head to face towards the shield, I did not take in account the extra parts as I assumed that they would be a fit in the first place.

Next Step:
- More genestealers
- Brother Kaphael and Brother Metraen from the Terminator squad (which makes a total of 3 boxes)
- Chaplain with Terminator Armour (Chaplain Raziel)
- DeathWing Command Squad/Terminator Squad for the DeathWing Expansion

Tuesday, October 08, 2013

Warhammer 40K: Space Hulk Terminators Part 8

So over the last weekend, I decided to work on completing my basic units for the Space Hulk card game. I did 2 over on Saturday and the last 3 on Sunday. So here it is:

Brother Scipio

Brother Omnio

Brother Claudio
Yeah. I forgot to take the back!

Brother Goriel
I got lazy after looking for possible materials to make the genestealer skull and spine and decided to go with something simple for the moment. I attached a left over genestealer skull with super glue to his arms and give a simple splatter of green for the blood. The skull is does not come with a lower jaw. I did not want to waste the good heads.

Sergeant Gideon
My order of Sergeant Gideon's head has yet to arrive. It was dispatched over on the 29th from UK. Hopefully, it should arrive before the end of this week. I'm still undecided on the colour scheme of his thunder hammer's handle.

The Army
Aside for Brother Adron (need to rework on the base) the rest of the units are from the base set of Space Hulk Death Angels card game. Hopefully, I should be able to use it this Saturday's session.
I have also worked on adding the Blood Angels insignia on which ever units I am able to paint on. I cheated on some of the earlier works by adding the some of the stuff at the shoulders where the logo should have been. At least for now, I have got a squad to be proud off. If time permits, I may just use this guys for my Warhammer Boot camp. XD


Thursday, October 03, 2013

Warhammer 40K: Chapter Insignias


Symbols are key in identification unit factions for any games.

Previously, I was had ideas of stenciling the symbols until FourEyedMonster suggested freehand drawing of the symbols. I was not sure if I could since I do not have steady hands. Also, I did not want to rely on decals alone.

I finally decided to give it a try after reading several suggestions about freehand drawing, from practicing with pencil on a paper to practicing with a brush.

After a few attempts on paper, to which I decided was a fruitless practice especially when trying to attempt a proper symmetry, I decided to test paint on my 3 space marines earlier. A least now I have an idea on the technique used to paint them.
From left: Blood Angels, Dark Angels, Ultramarines
Ultramarines
The easiest to draw was the symbol of all the three. I find it easy to start by first painting a white circle. Then add a white line of suitable thickness across the top of the circle. Draw a small blue circle on the white circle, touching the white line. Finally, add a blue line across the while line to finish the symbol.

This is basically using the concept of adding and subtracting, which I dealt with in one of my earlier works in 3D modeling. I enjoyed adding more then subtracting.

Dark Angels
Start by drawing a white semi-circle. Add a tip at the top and bottom of the semi-circle. These will be the top and bottom of the blade in the symbol. Then draw two thin green line starting from the edges of the bottom tip to shape the sword in the middle of the semi-circle. As you reach the top, create a curve parallel to the edge of the white semi-circle. Then paint off the excess white to create the sword handle. On each half of the semi-circle, draw a line in the middle to split them evenly. Then draw another two line on each half created. That should give a somewhat even thickness for the symbol. I'll probably come up with a step by step photo to make this a little more clearer at another time.
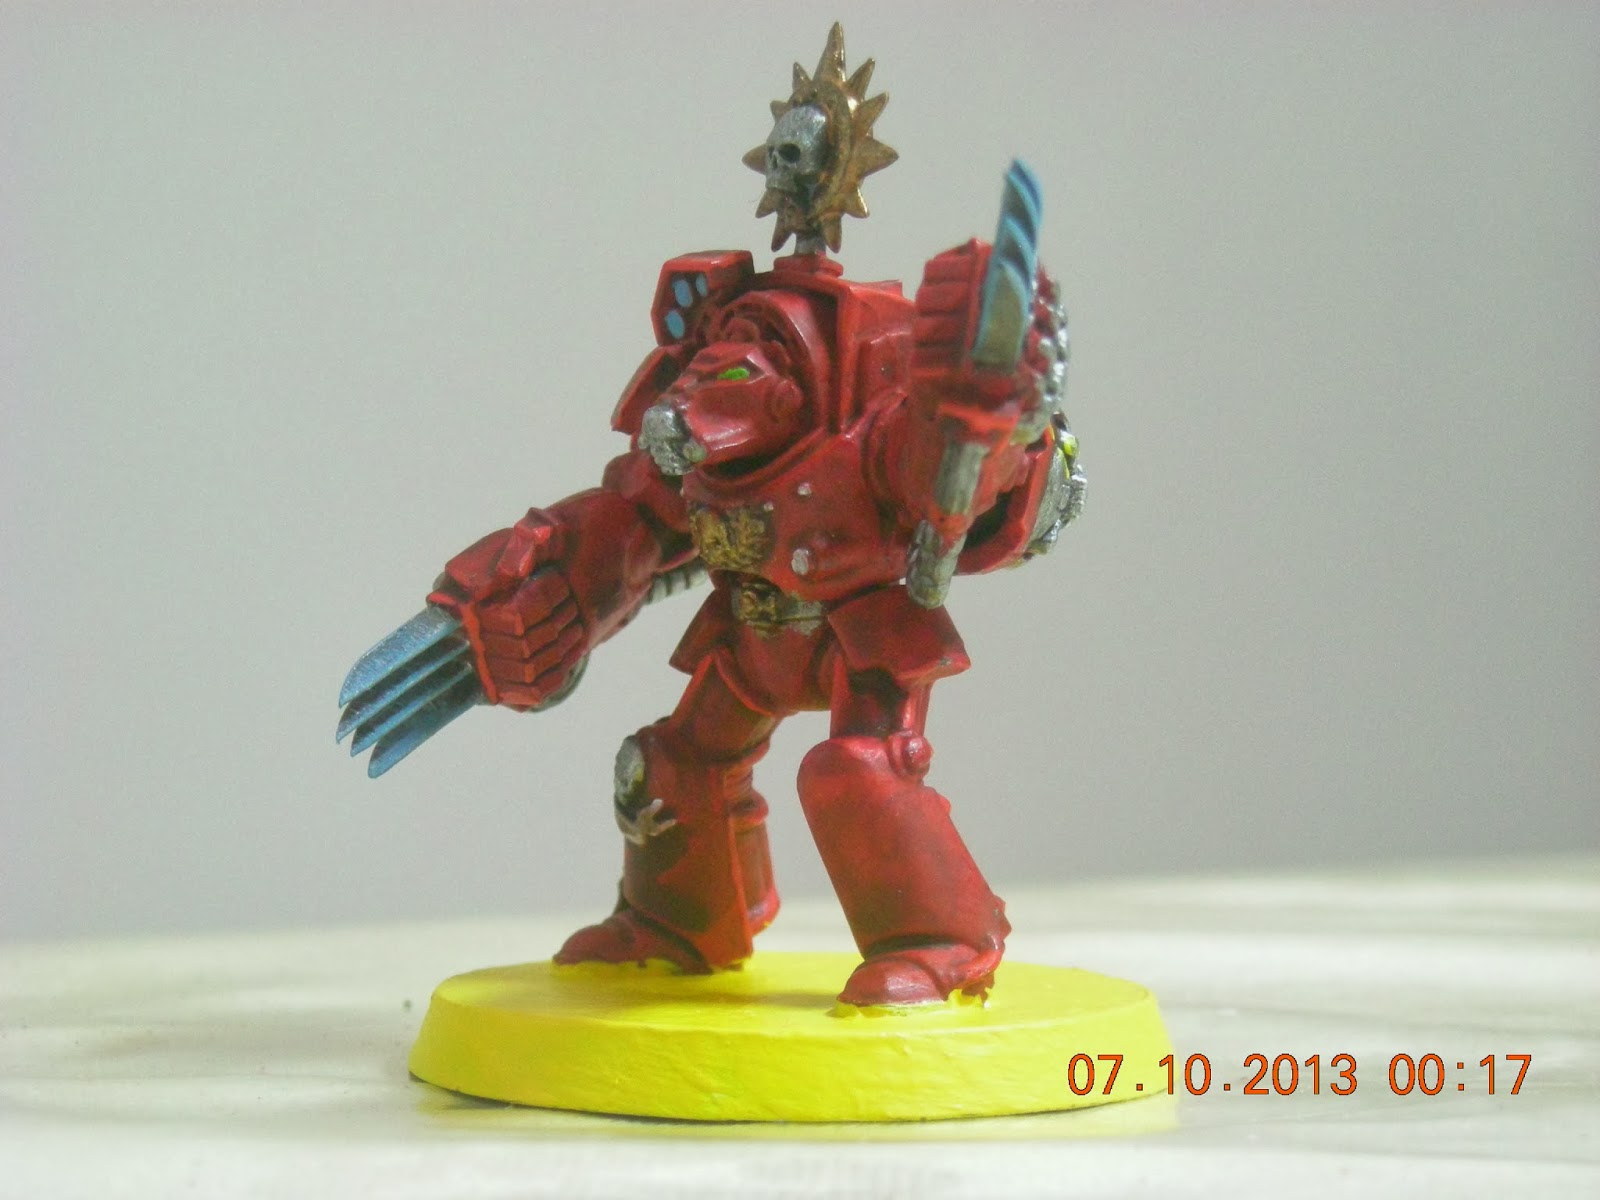
Blood Angels
This tip was acquired from the web after I gave up on my attempts to draw using pencils. Create the teardrop first by drawing a small semi-circle and drag the brush upwards until thin. Draw the lines parallel to the teardrop on each side. At the tip of both lines, draw a small semi-circle like curve upwards. Starting from the bottom, create and outward stroke of varying length and degree of upward curve. About four lines altogether is needed for the symbol, although I have seen varying numbers of feathers. Finally, add a little thickness to each feather. Clean up the symbol with red, assuming that the background is red.

These 3 symbols were very easy to work with. For the symbol on the left, draw a square box. Then cut it by drawing small diamond shapes on the sides of each box.

For the middle symbol, draw a horizontal line, followed by two vertical lines. Connect the vertical lines to the horizontals to create the arrows. Finally paint the arrows and the middle line to suitable thickness.

For the up arrow, I use a method that I saw on YouTube. Draw a vertical line, followed by a triangle to create the arrow. Paint the arrow. Finally, draw a box below to create the arrow of suitable thickness.

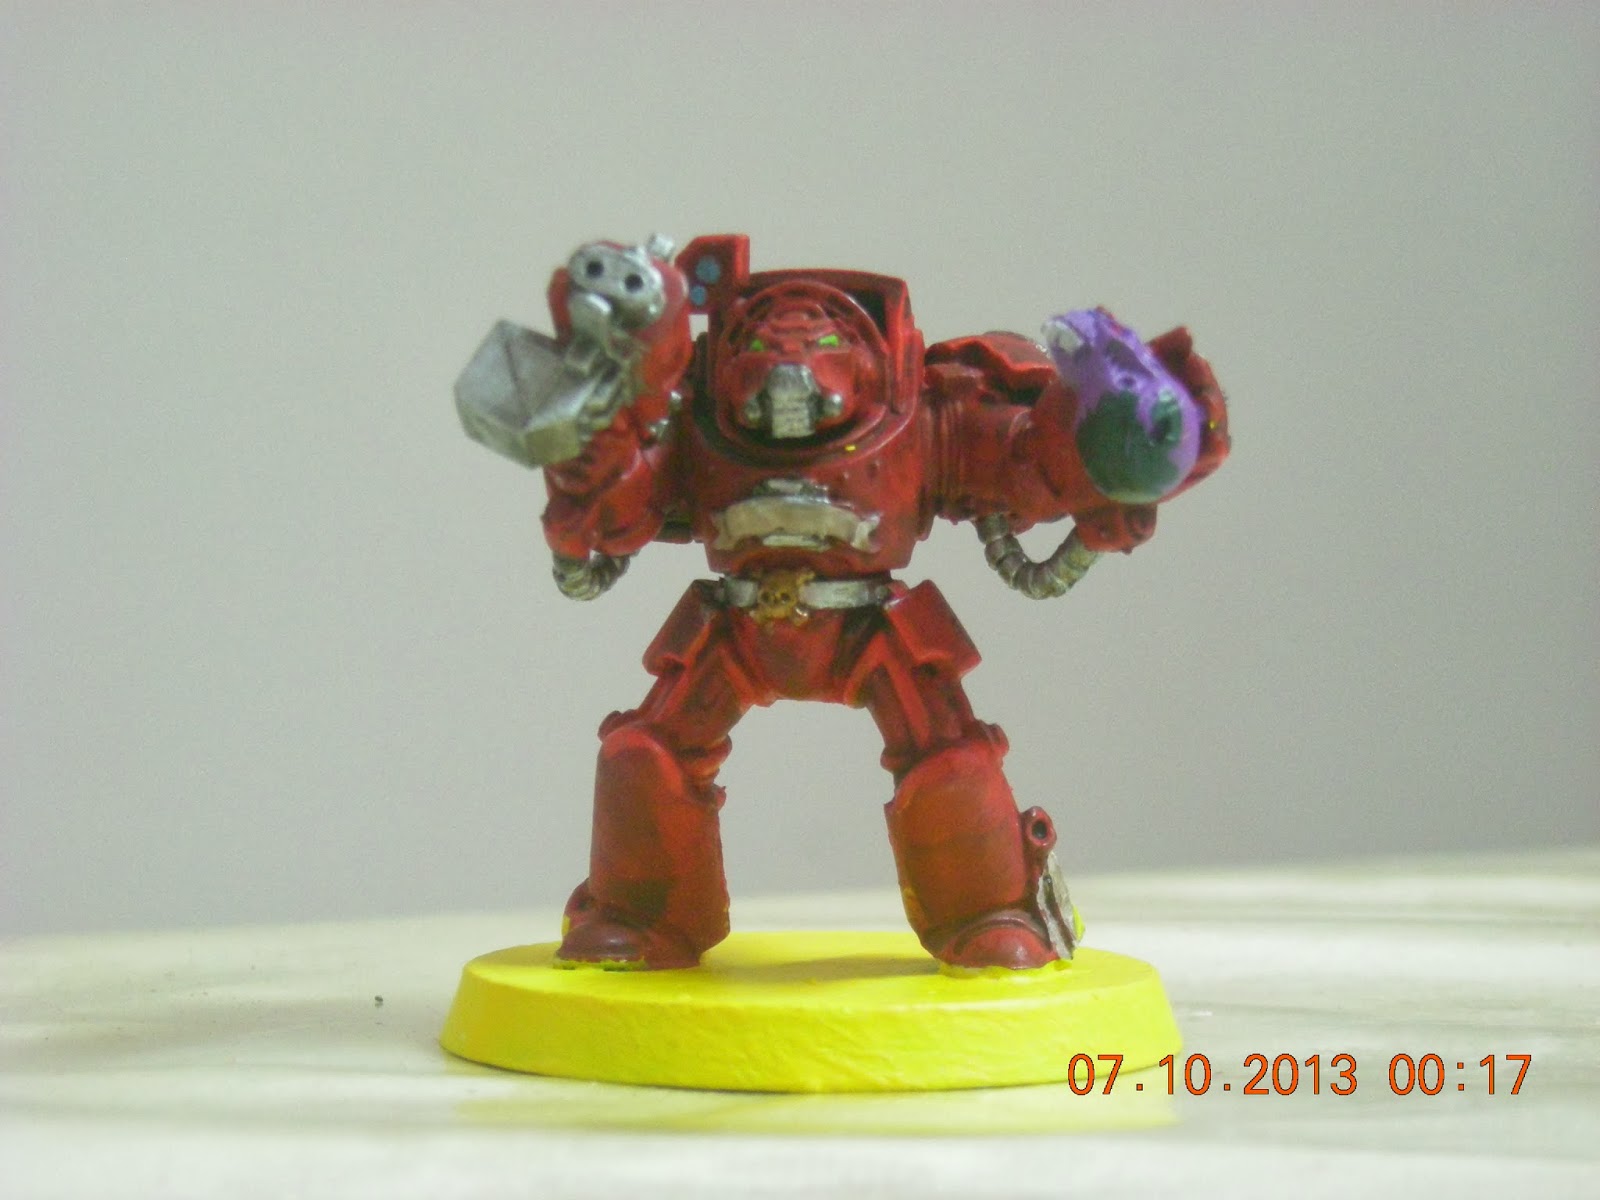
My first attempt after figuring out the proper technique to use as written above.
If you have any other methods to draw the symbols above, or any of the other factions, do point me to the right direction. I would appreciate additional reading and ideas to paint freehand.

Before I leave, here's a little something I did via experiment on Microsoft Paint brush. They were done using basic objects available in the software.