Showing posts with label Farsight Enclave. Show all posts

Thursday, February 16, 2017

Misc: Photo Updates

I managed to borrow my sister's digital camera for the day since I needed to use one for a job. Took the opportunity to snap some of the long overdue shots.

HQ units
Interrogator-Chaplain Dakarus
Chaplain Azazel
Terminator Interrogator-Chaplain Ephrek
Lexicanium Aspholon
Ravenwing Company
My 1st and only Attack Bike, for now
New set of Dark Vengeance Bikes 
Extra Sergeant on the left. The rest are 1st Squad

5th Company Dreadnought Azmodor
Azmodor, as per codex
With Azmodor, comes the twin-linked autocannon Mortis prototype
Finally complete
Did not see the gap after earlier completion. A little more drilling should do the trick
Mortis Side View
I only noticed how massive the arms I made after taking this shot. At least something for a prototype. Need to reduce the measurement by probably 10 percent.

Necron Thokt Dynasty Doom Scythe
Side View
Top View
Pilot close up
Farsight Enclave Razorshark
Side View
Top View

Descent 2
Cave Spiders
Barghest
Close up on barghest prime. Love the blood effect
View from the other side
Also for the heck of it since I got the mini from White Dwarf


Coming up next in the painting line
Descent 2's Zombies, Goblin Archers and Flesh Moulders
Final member of the 1st Ravenwing bike Squad (chainsword) and 2 members of the 2nd Squad
Also in the center, Zameon Gydrael from Deathwatch Overkill. Got to have him for a company champion.

And before I forget, further addition to my Deathwing Terminators which now puts my completion rate at 18.5% from 12.5%. Most of them were the models from Death Angels which I recently stripped and repainted. Thanks to the Ravenwing Bike Squad decals that comes with it. Too bad that they are the only official source.

Also to note that some changes were made here which helps accelerate the paint job during the last few weeks. Since the youngest has gotten too old for the changing table, I repurposed it for my use as my new painting station. No more set up and clean up!


Set up next to the dinner table which I used previously to paint, this has helped speed things up. I can just drop over anytime when I am free and just do a few quick work. The drawer contains most of the unpainted models and also the rest of my bits. All in a single station.


Saturday, January 21, 2017

Warhammer 40k: Stormcloud Atack - The Ancient vs The Greater Good

Finally completed the base of the Razorshark model.


The base was done to match the previous two Farsight Eight models.


Finally, the two models together, ready for a game or Stormcloud Attack. Three flyers now available, including the Dark Talon I did a few years back.


Tuesday, January 17, 2017

Warhammer 40K: Farsight Enclave Razorshark (WIP) Part 2

Finally did the undercarriage and varnished the model.
Photo take a little darker than previously due to using only 1 source of light instead of 2. Might stick back to two next time.

Or get the damn light box!

Left
Right
Top
Undercarriage
Next, the base. I will be using the same red earth basing as I did with my previous models.


Friday, January 13, 2017

Warhammer 40K: Farsight Enclave Razorshark (WIP)

Razorshark base layer was done simultaneously while working on the Death Scythe.

After drybrushing reds.
 

Another session later
 

Glad that the turrets were removable.

*Paint note. Missiles are to be assembled last after the entire paint job is completed. Interior missile bay could be painted right prior to assembly.

Drone unit. While permanently attached, it could also be assembled later once entire model has been painted.

*Update: Added decals on the models
 
 
Undercarriage remaining

Tuesday, January 03, 2017

Warhammer 40K: Christmas Projects

Happy New Year to all!

After the last post, I have:
1. Finished 1st Ravenwing Bike Squad consisting of 6 bikes (3 from Dark Vengeance) and 1 attack bike for my Ravenwing. 1 extra sergeant was made and assigned to 2nd Squad.
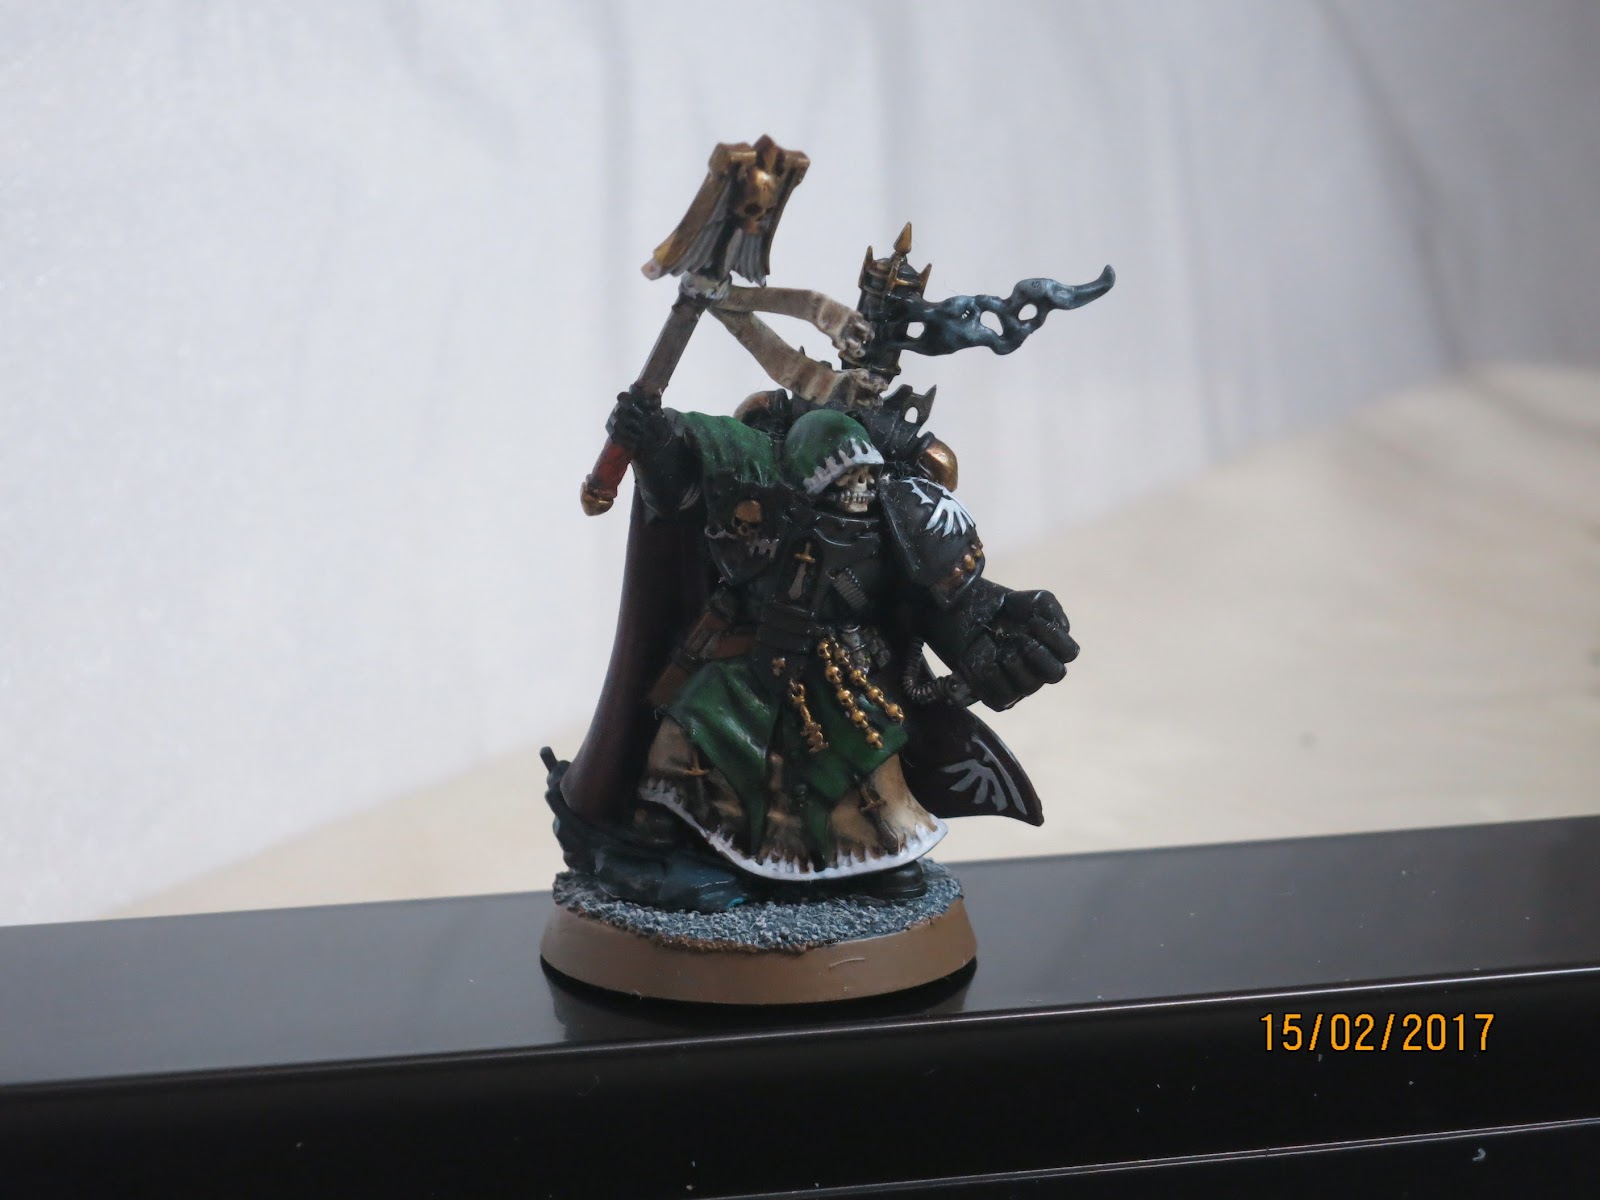
2. Completed 5th Company 2nd Dreadnought Azmodor.
3. Finished my prototype Mortis twin-linked autocannon kitbash.
4. Got myself a Stormcloud Attack (The Ancient vs The Greater Good).
5. Assembled both Necron Doom/Night Scythe and Tau Razorshark.
6. Partially painted both Doom/Night Scythe and Razorshark.


The Razorshark will definitely be painted Farsight's colours while Doom/Night Scythe will be a prototype color for Thokt Dynasty after Anrakyr the Traveller's colours.

Primed and basecoated the Razorshark with Khorne Red top and black bottom. I am leaving this model for a later time. Razorshark since the Air Support Cadre for Farsight only has Razorsharks. Nothing on the Sun Shark bombers.

Primed and basecoated the Doom/Night Scythe (either or at the moment since the only difference is the death ray/portal which is currently not glued. I am probably going to assemble as Doom Scythe but will leave it as it is to swap around if needed). While most of Thokt Dynasty models are using Blue/Silver motive, I am going with Green/Blue. Main body are already painted with Caliban Green while the larger grooves are Ultramarine Blue. Icons are done with Temple Guard Blue with the metal components done in Runefang Steel.

Pardon the poor quality photo as this was taken from my iPad.

Overall, I am a little disappointed with the speed of the job done since I was hoping for at least a squad of either termies or tactical units done too during the break, to which unfortunately, I also had other things to look into (work to sadly. And some extra housekeeping to boot).

At least the bikes are now done which puts me back on track (a little) to my chapter.

The Mortis twin-linked autocannon arms was also a nice touch being finished for the year. It is a very simple job done to which I hope to get a camera as soon as possible for me to capture and upload. Hopefully, the next model will be made using easier method which I should be able to manufacture more easily (i.e. resin molding and casting)

Monday, September 22, 2014

Warhammer 40K+Misc: 5th Company, Tau Commander Arra'Kon and Zong Shi

5th Company
Just a little pictorial post to record the work done so far until now. More units now join the rank of the 5th Company. The devastator squad and scout models are basically the only infantry models I have yet to acquire.

Company Veterans
The company veterans are completed except for the single company champion. Since the Veteran Squad is a loose group drawn from the existing companies with no dedicated company assignment for them, I will be integrating them within the various companies itself. Also to note, the existing model for the 9th Company Master is included above as I found another model instead. You can say he is demoted. He will be joining a dedicated command squad instead.

Tactical Squad. All bolters. Not a legal squad

Assault Squad at 50 percent
At this point, I realised that I am not exactly consistent in the colour used for the various iconography. I will be adding a page later to keep this in check since it can be a little tiresome to search for the very specific steps.

Commander Arra'Kon


Model is done. Left the bast to be done. Will be keeping the base colour red in consistent with the existing Mars like desert scheme as done in the previous 2 models. I may just add some grass in as to show it is not all lifeless.

Zong Shi


From a boardgame I got some time ago via Kickstarter with a friend, I decided to give the models a little life with some colour. The above is the Jade Buddha token used as a start player marker in the game itself. the model is very well detailed, although a little sticky to hold for some reason. Inside the box for too long perhaps. Since the model above is suppose to be jade, I used various colours of green and mostly dry brushing.
  1. Basecoat with Caliban Green
  2. Wash with Nuln Oil (I previously washed with Beil-Tan Green. It was not dark enough to my liking)
  3. Drybrush with Caliban Green
  4. Drybrush with Kabalite Green
  5. Drybrush with Warpstone Glow
  6. Drybrush with Moot Green
  7. Glaze with Waywatcher Green
  8. Apply Hardcoat to give it a shine
The drybrushing should be lighter then the previous layers.

The masters and the apprentices above are painted accordingly to their colour. Although the colours are not exactly the same as the original token, they should be approximate enough to match their corresponding player tokens.