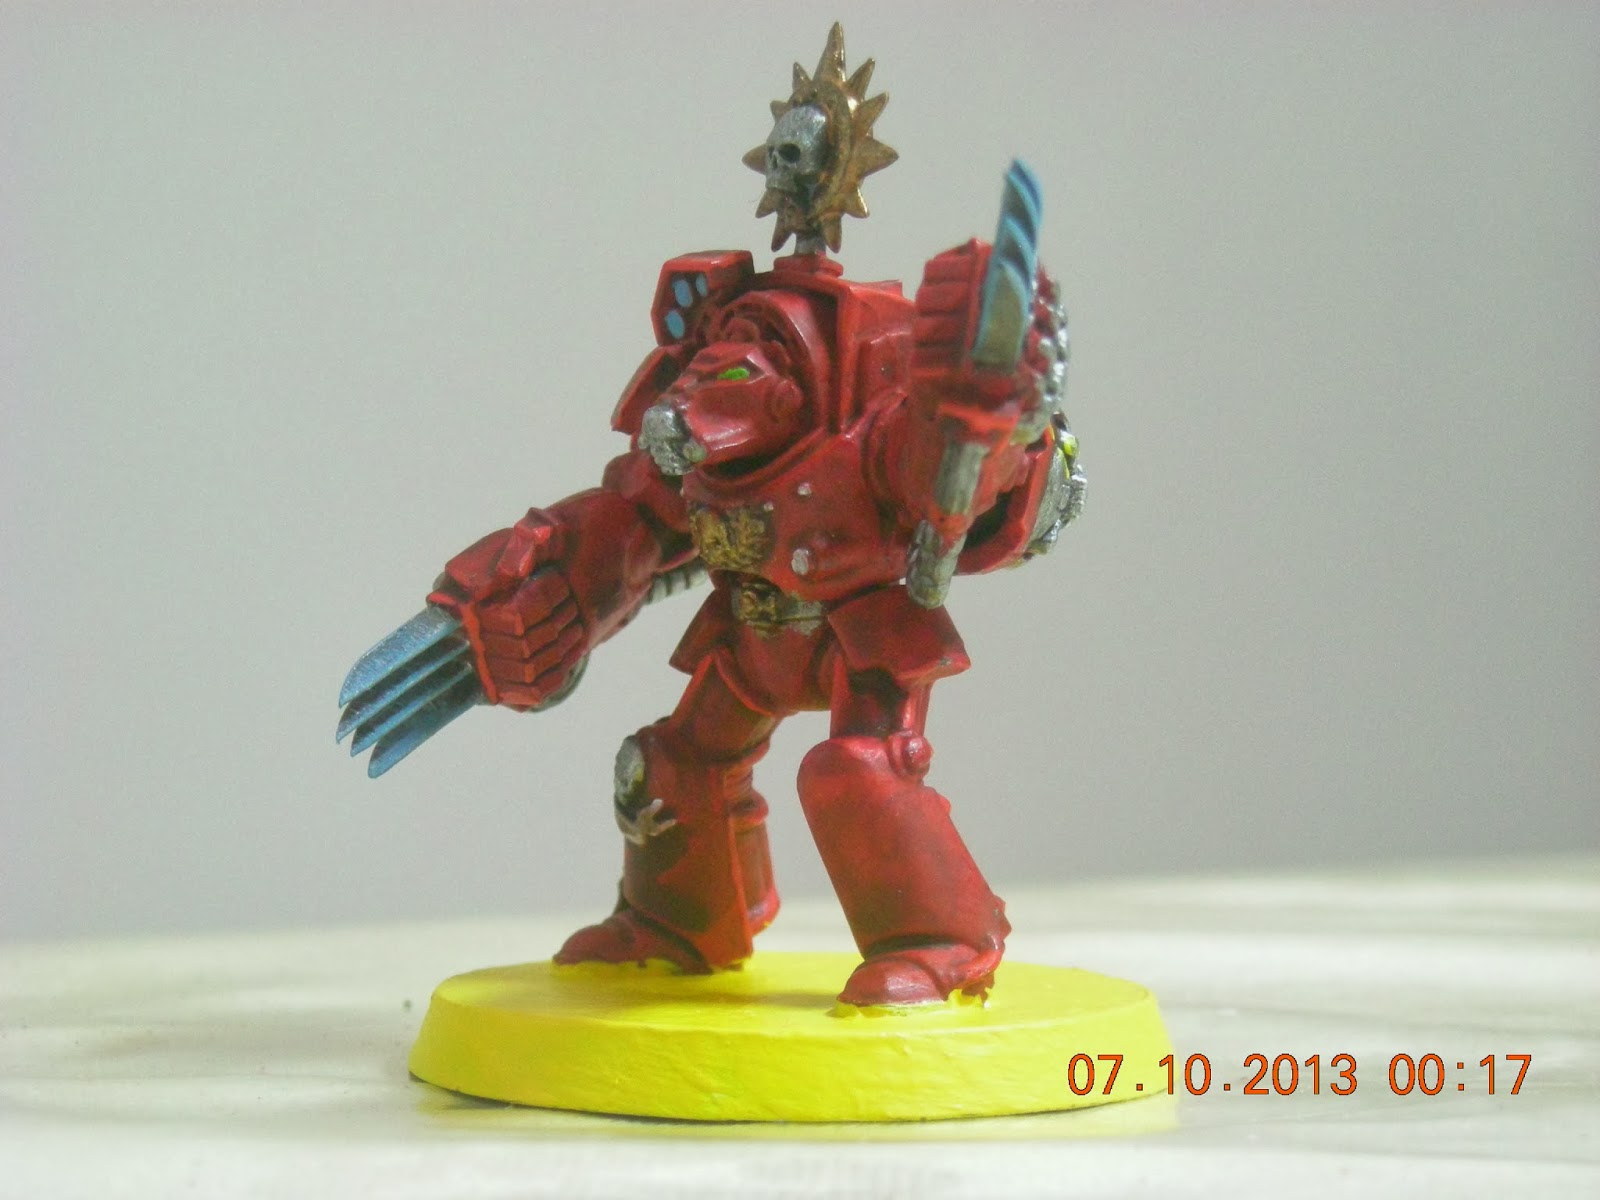
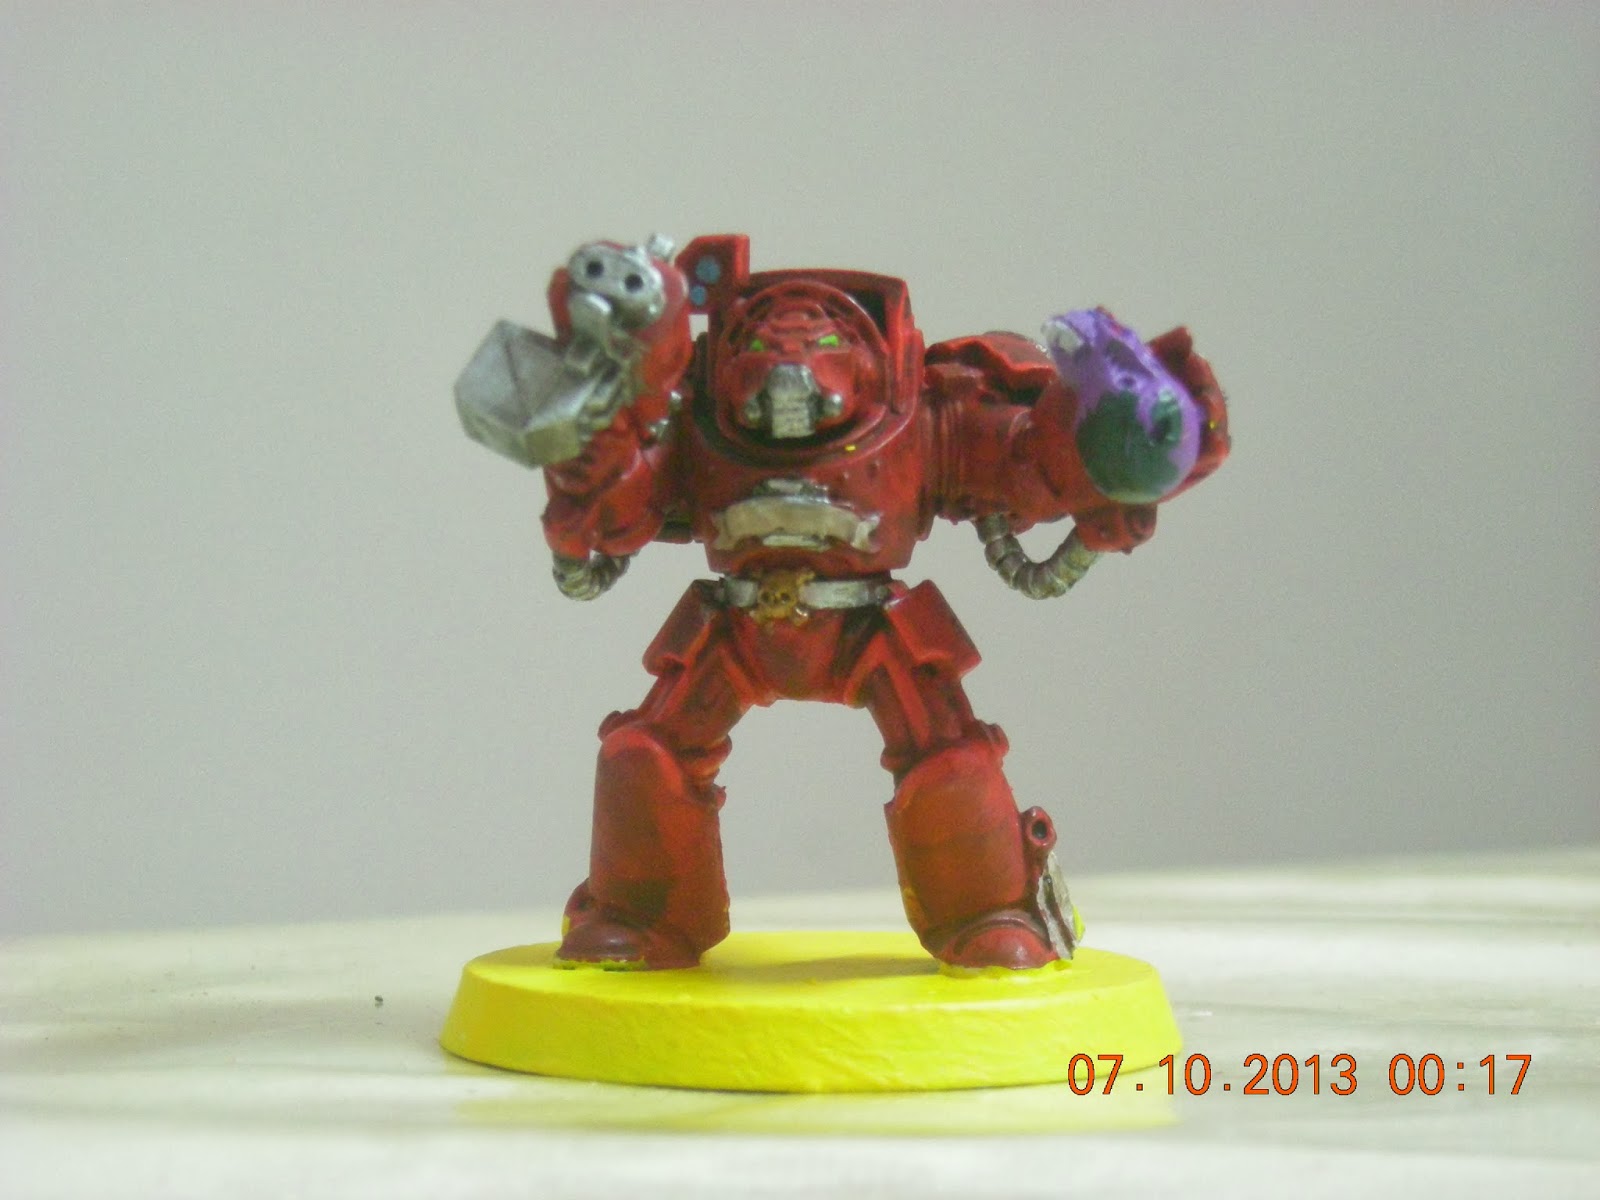
Symbols are key in identification unit factions for any games.
Previously, I was had ideas of stenciling the symbols until FourEyedMonster suggested freehand drawing of the symbols. I was not sure if I could since I do not have steady hands. Also, I did not want to rely on
decals alone.
I finally decided to give it a try after reading several suggestions about freehand drawing, from practicing with pencil on a paper to practicing with a brush.
After a few attempts on paper, to which I decided was a fruitless practice especially when trying to attempt a proper symmetry, I decided to test paint on my 3 space marines earlier. A least now I have an idea on the technique used to paint them.
 |
| From left: Blood Angels, Dark Angels, Ultramarines |
Ultramarines
The easiest to draw was the symbol of all the three. I find it easy to start by first painting a white circle. Then add a white line of suitable thickness across the top of the circle. Draw a small blue circle on the white circle, touching the white line. Finally, add a blue line across the while line to finish the symbol.
This is basically using the concept of adding and subtracting, which I dealt with in one of my earlier works in 3D modeling. I enjoyed adding more then subtracting.
Dark Angels
Start by drawing a white semi-circle. Add a tip at the top and bottom of the semi-circle. These will be the top and bottom of the blade in the symbol. Then draw two thin green line starting from the edges of the bottom tip to shape the sword in the middle of the semi-circle. As you reach the top, create a curve parallel to the edge of the white semi-circle. Then paint off the excess white to create the sword handle. On each half of the semi-circle, draw a line in the middle to split them evenly. Then draw another two line on each half created. That should give a somewhat even thickness for the symbol. I'll probably come up with a step by step photo to make this a little more clearer at another time.
Blood Angels
This tip was acquired from the web after I gave up on my attempts to draw using pencils. Create the teardrop first by drawing a small semi-circle and drag the brush upwards until thin. Draw the lines parallel to the teardrop on each side. At the tip of both lines, draw a small semi-circle like curve upwards. Starting from the bottom, create and outward stroke of varying length and degree of upward curve. About four lines altogether is needed for the symbol, although I have seen varying numbers of feathers. Finally, add a little thickness to each feather. Clean up the symbol with red, assuming that the background is red.
These 3 symbols were very easy to work with. For the symbol on the left, draw a square box. Then cut it by drawing small diamond shapes on the sides of each box.
For the middle symbol, draw a horizontal line, followed by two vertical lines. Connect the vertical lines to the horizontals to create the arrows. Finally paint the arrows and the middle line to suitable thickness.
For the up arrow, I use a method that I saw on YouTube. Draw a vertical line, followed by a triangle to create the arrow. Paint the arrow. Finally, draw a box below to create the arrow of suitable thickness.
 |
| My first attempt after figuring out the proper technique to use as written above. |
If you have any other methods to draw the symbols above, or any of the other factions, do point me to the right direction. I would appreciate additional reading and ideas to paint freehand.
Before I leave, here's a little something I did via experiment on Microsoft Paint brush. They were done using basic objects available in the software.